
Gallery wall ideas: how to plan one that looks designer made
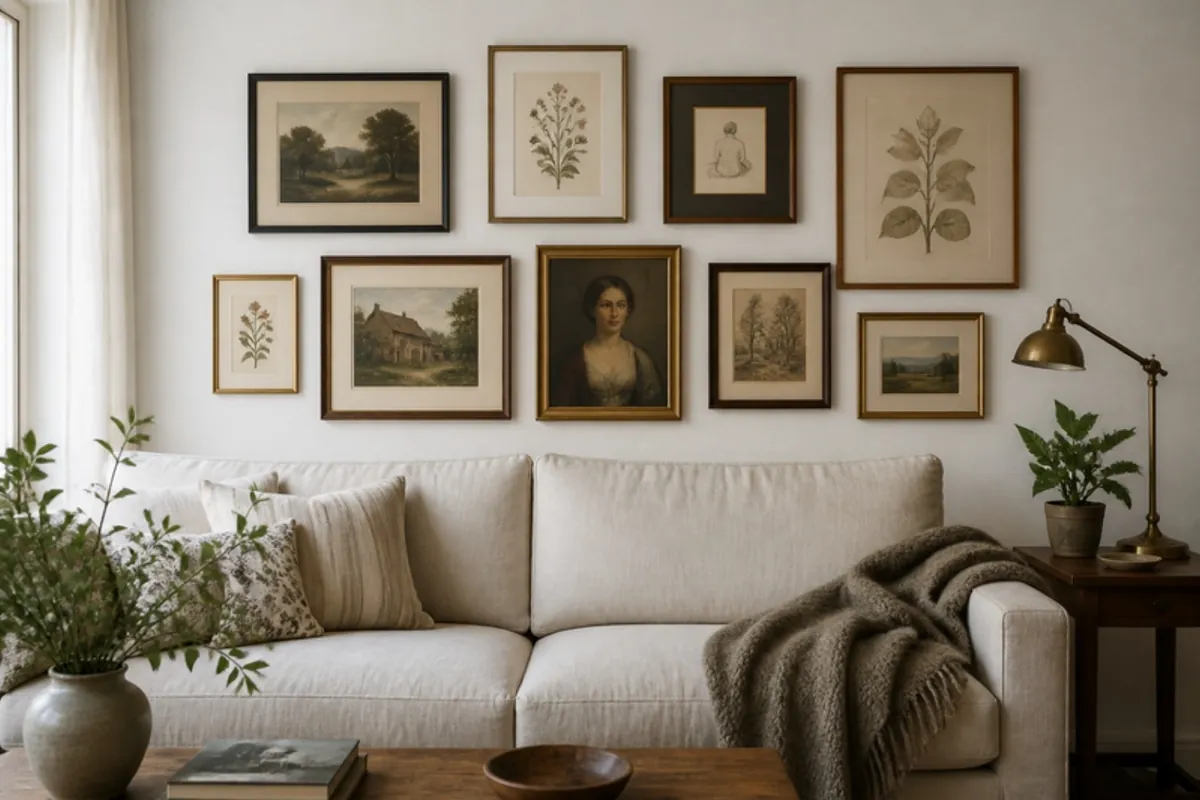
Quick answer: a good gallery wall starts with one theme, one anchor piece and a plan on paper. Pick a color story, choose a layout (grid, salon style or a row), cut paper templates for every frame, tape them to the wall, and keep 2 to 3 inches between frames. Hang the center of the whole group at about 57 to 60 inches from the floor.
A gallery wall is the fastest way to give a room personality. It is also the decor project people put off the longest, because it feels like a lot of holes in the wall. With a little planning, it is easier than it looks. Here is how we plan one, step by step.
Pick a theme before you pick frames
The walls that look the most "designer" are not the most expensive. They are the most consistent. Before you buy anything, decide what ties the pieces together. A few themes that always work:
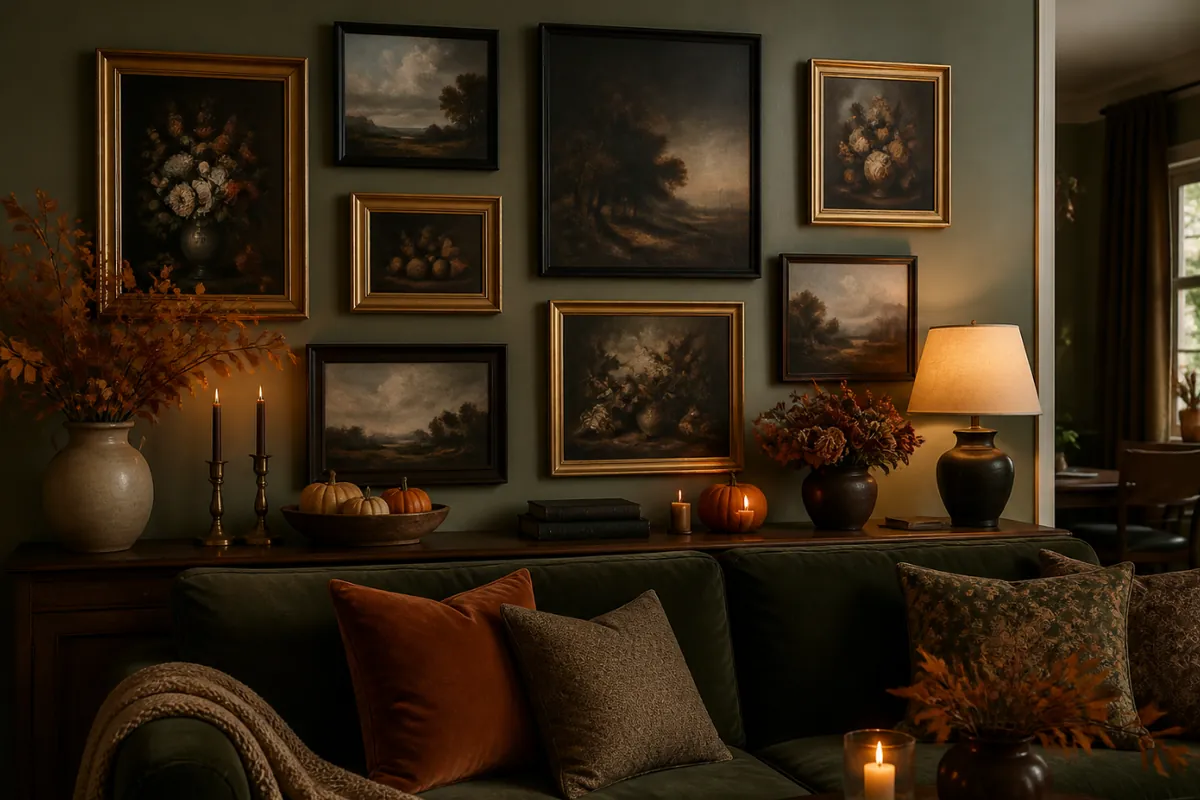
- Vintage and antique: oil landscapes, old portraits, botanical drawings and sketches. Warm, calm and easy to grow over time.
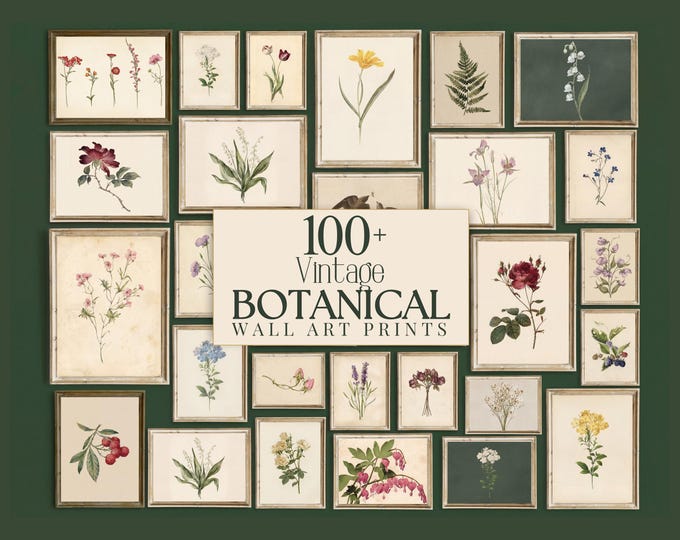
- Botanical: pressed flowers, leaf studies and plant drawings in soft greens and creams.
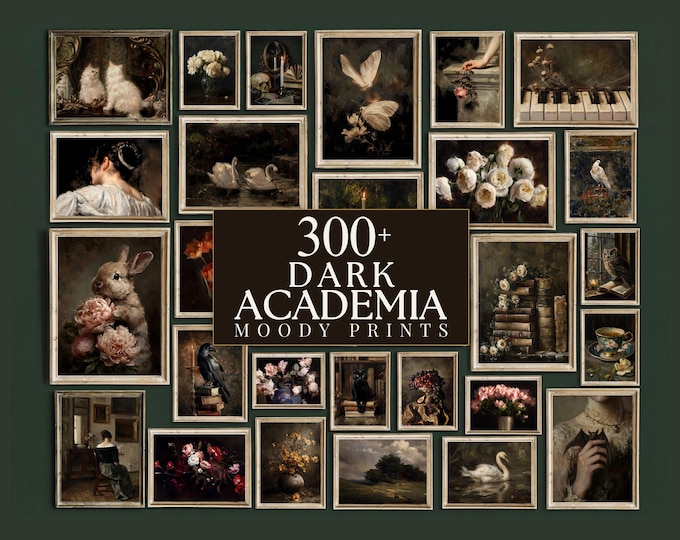
- Moody and dark: deep greens, browns and black, great for a library corner or a bedroom.
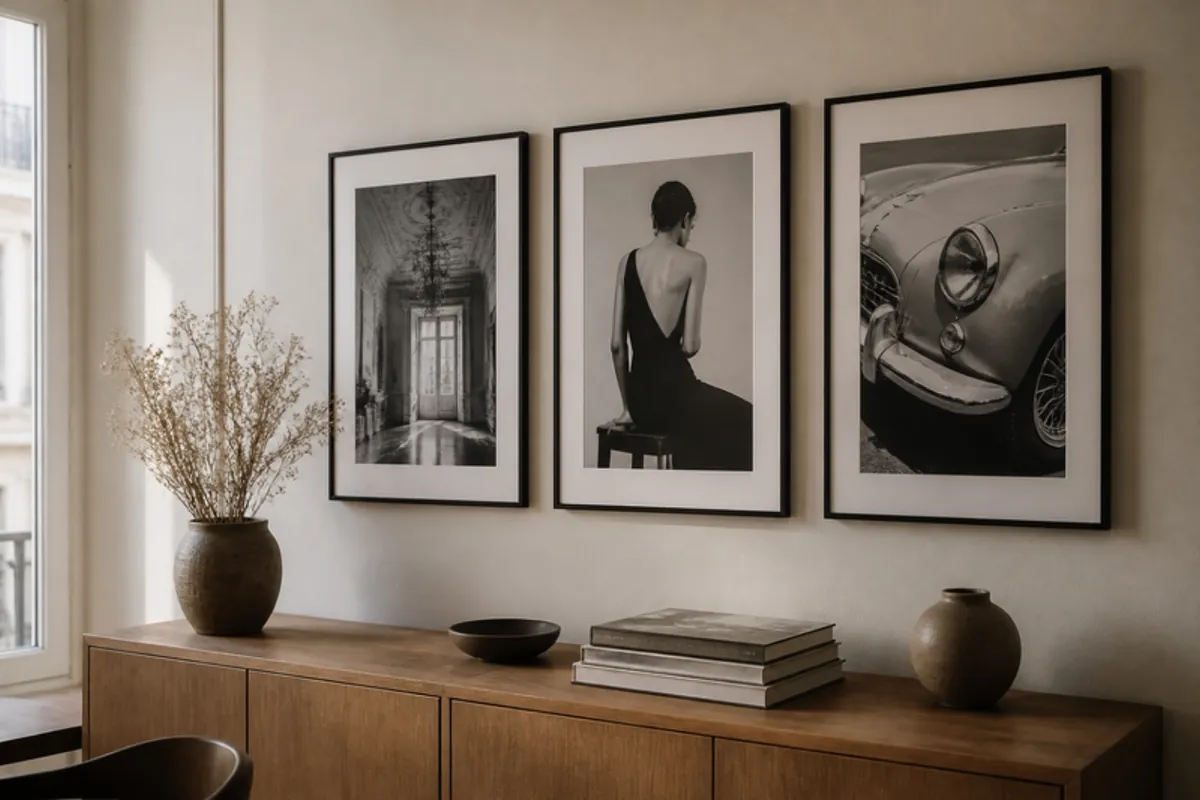
- Modern and graphic: black and white fashion prints, bold typography and abstract shapes.
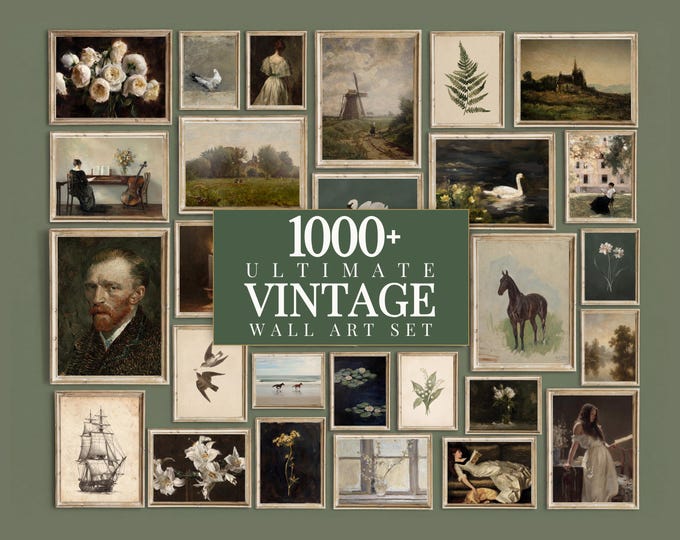
If you love the vintage look, our vintage print bundle has 1000+ designs in the same soft, aged color palette, so any mix you choose will look like it belongs together. For a lighter, cottage feel, the French country decor set is a nice place to start.
Choose your gallery wall layout
There are three layouts most people use. Pick the one that fits your room and your patience.
The grid. Same size frames, same spacing, in neat rows. Think 2x2, 3x3 or 2x3. It looks calm and modern and it is the easiest to hang. It works best above a sofa, a bed or a console.
Salon style. Mixed sizes and shapes, loosely grouped around one big anchor piece. This is the classic "collected over years" look. Start with the biggest frame slightly off center, then build outward. Keep the outer edges roughly even so the group reads as one shape.
The row. Three to five frames lined up along one center line or along the bottom edges. Perfect above a sideboard, a bench or a long hallway. It also works great on a picture ledge, where you can lean and swap art without new holes.
Plan it on paper first
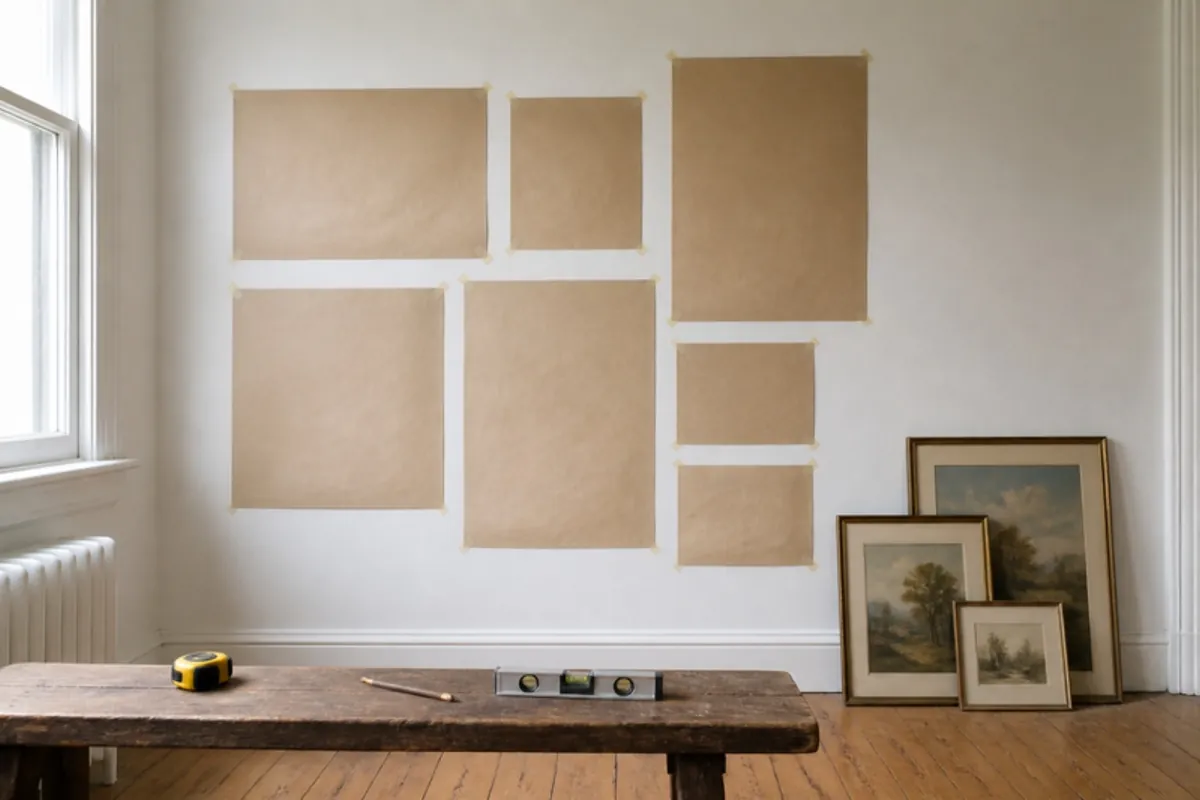
This is the step that saves your walls. Lay all your frames on the floor and play with the arrangement until you like it. Take a photo. Then trace each frame on kraft paper or newspaper, cut it out, and mark where the nail or hook goes on each template.
Tape the templates to the wall with painter's tape. Live with it for a day. Move things around. When it feels right, nail straight through the paper marks and tear the paper away. No guessing, no extra holes.
Mix sizes, frames and art the smart way
Variety is good, but it needs rules. Here is what keeps a mixed wall from looking messy:
- Use one large anchor and several small and medium pieces around it.
- Keep frame colors to two or three: for example black, natural wood and a little gold.
- Repeat colors from the room in the art, like the green of a plant or the rust of a pillow.
- Add one or two surprises: a small portrait, a sketch or an abstract piece among the landscapes.
The 100+ botanical prints set and the vintage sketch set mix beautifully with oil landscapes. If your style is bolder, try the eclectic gallery wall set, or go clean and modern with the abstract gallery wall set. For a black and white fashion look, browse leopard and fashion art.
Our gallery wall tips
- Hang the center of the group at 57 to 60 inches from the floor, like one big picture.
- Above a sofa, leave 8 to 10 inches between the sofa back and the lowest frame.
- Keep 2 to 3 inches between frames. Closer looks cramped, wider looks scattered.
- The whole group should be about two thirds the width of the furniture below it.
- Use printable art so you can test sizes cheaply before you commit to frames. Our printable wall art guide shows how to print at home or at a print shop.
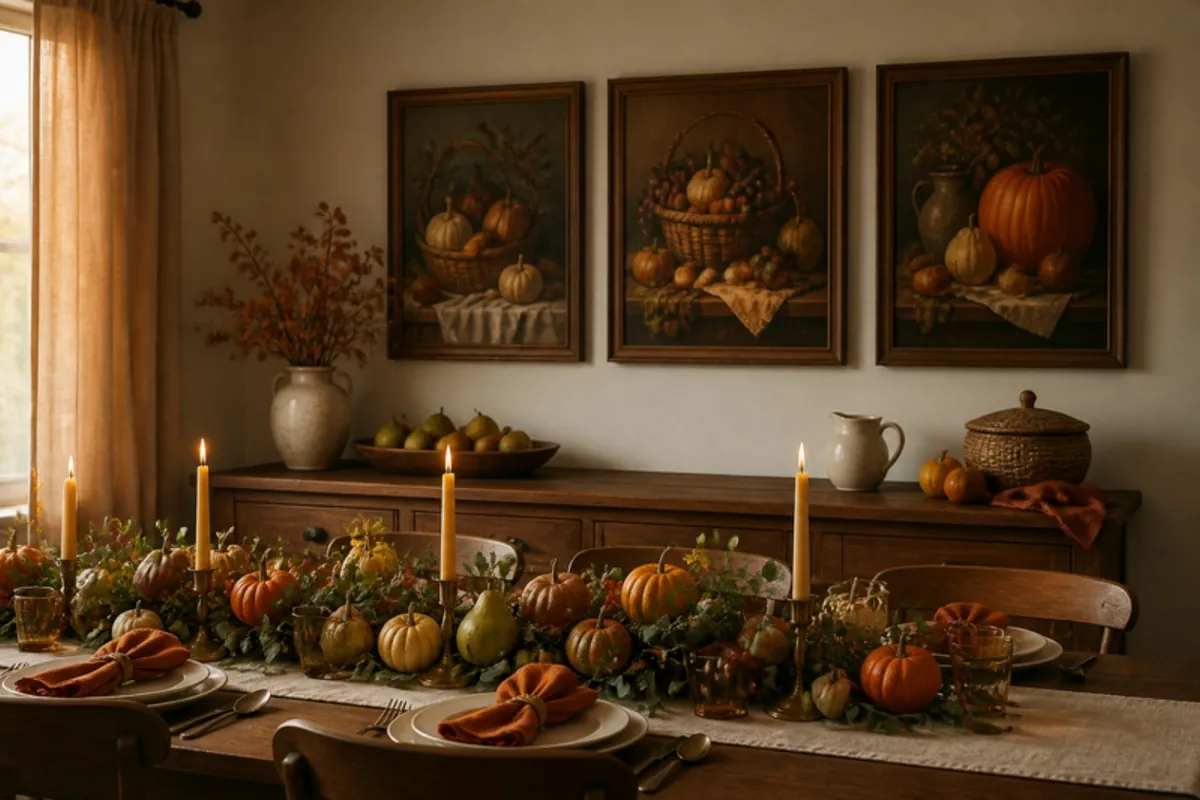
- Make it seasonal: keep the frames and swap a few prints for fall, like in our fall wall art guide.
Frequently asked questions
How many pictures should be on a gallery wall?
Most gallery walls have 5 to 12 pieces. Above a sofa, 6 to 9 is a good range. Start smaller and add pieces over time.
How far apart should frames be on a gallery wall?
About 2 to 3 inches. Keep the spacing the same across the whole wall, even when the frame sizes are different.
What is the easiest gallery wall layout?
A grid of same size frames. A 2x2 or 3x3 grid is quick to measure, quick to hang and always looks tidy.
Do all the frames need to match?
No. Matching frames look calm and modern. Mixed frames look collected and cozy. Just limit yourself to two or three frame colors so it still feels planned.
How do I hang a gallery wall without damaging the wall?
Plan with paper templates first so every hole counts. For light frames, removable picture hanging strips work well. A picture ledge is another no-fuss option.
Ready to start? Browse our vintage gallery collection for sets made to hang together.